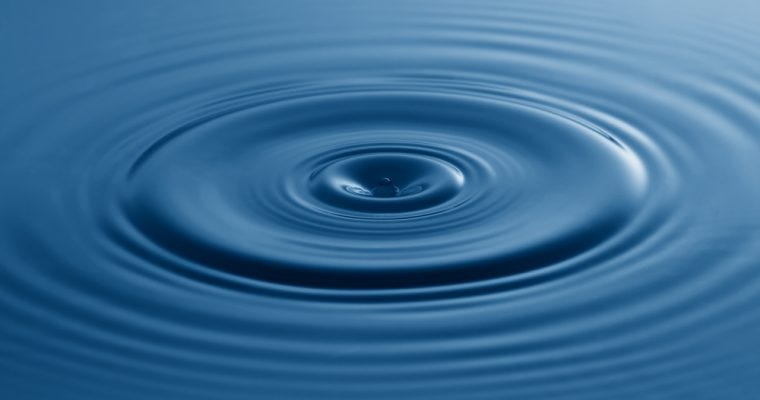
Welcome back to my Flutter animation series. Where I show you my experiments with Flutter animations. In the previous blog, we saw how to animate background color using Tween animation. Today we will see how to create some amazing UI using CustomPainter and to animate it. So, Grab a cup of coffee and let’s convert some coffee into code. ☕ => {}
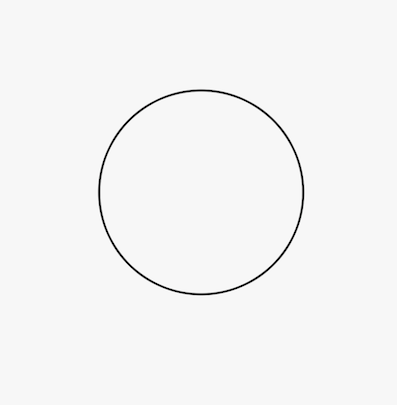
We will be creating circular wave animationbut first, let’s see how we can create a circle using CustomPaint. Add CustomPaint widget to your widget tree, it takes a size and a *painter.Painter is a simple class that extends CutsomPainter and implement two methods, *paint(Canvas, Size)*and *shouldRepaint(CustomPainter oldDelegate)*.*The paint method provides us with the canvas which let us draw anything on canvas. We can draw a circle using the *drawCircle()* method. Here is a full code.
import 'package:flutter/material.dart';class CircleRoute extends StatelessWidget {
@override
Widget build(BuildContext context) {
return Scaffold(
body: CustomPaint(
size: Size(double.infinity, double.infinity),
painter: CirclePainter(),
),
);
}
}class CirclePainter extends CustomPainter {
var wavePaint = Paint()
..color = Colors.black
..style = PaintingStyle.stroke
..strokeWidth = 2.0
..isAntiAlias = true;@override
void paint(Canvas canvas, Size size) {
double centerX = size.width / 2.0;
double centerY = size.height / 2.0;
canvas.drawCircle(Offset(centerX, centerY), 100.0, wavePaint);
}@override
bool shouldRepaint(CirclePainter oldDelegate) {
return false;
}
}And here is the result…
Well, That’s interesting. Let’s see if we can create multiple concentric circles. To create multiple concentric circles we will define the currentRadius and maxRadius. All the circles will be drawn from the currentRadius to maxRadius with the margin of waveGap. Let’s see the code.
@override
void paint(Canvas canvas, Size size) {
  double centerX = size.width / 2.0;
  double centerY = size.height / 2.0;
  double maxRadius = hypot(centerX, centerY);
  double waveGap = 10.0;
  double currentRadius = 0;

while (currentRadius
 _animation;
_animation = Tween(begin: 0.0, end: waveGap).animate(controller)
..addListener(() {
setState(() {
waveRadius = _animation.value;
});
});We need to define our AnimationController and set it in an infinite loop like this.
AnimationController controller;controller = AnimationController(
duration: Duration(milliseconds: 1500), vsync: this);
controller.forward();
controller.addStatusListener((status) {
if (status == AnimationStatus.completed) {
controller.reset();
} else if (status == AnimationStatus.dismissed) {
controller.forward();
}
});In the end, we will set our currentRadius equals to waveRadius . Here is the final code.
And here is our final animation. EUREKA!!!
If you liked this article make sure to 👏 it below, and connect with me on Twitter, Github and LinkedIn.